LONG LIVE OUTDOOR PLAY
  • Long Live Outdoor Play
    • FAQ
    • Favourite Links
    • About Me, Jennifer
    • About Valerie
  • Our Reviews
    • Playground Reviews >
      • Top 10 Infant & Toddler Friendly Playgrounds
      • Top 10 Accessible Playgrounds
      • Top 10 Parks with Shade
      • Canada's 150 coolest playgrounds
    • Splash Pad Reviews >
      • Top 10 Splash Pads
    • Skateparks
    • Indoor Play Reviews
    • Ontario Ice Cream Shops
  • Maps
    • Splash Pad Map
    • Desktop Playground Map
    • Indoor Playground Map
    • Ice Cream Trail Map
  • Our Adventures
    • Activities and Bucket Lists
    • Ice Cream

Sandpit part 6.....IT's ALIVE!!

10/27/2017

0 Comments

 
Picture

Ok so it's not really alive, but it is complete! Hooray!!!

After only 2 years and 3 months, this pit is finally a sculptured piece of the backyard. It took a lot of sweat, tears, frustration, planning, re-planning, and brute strength (man sand bags are HEAVY!), but I can finally call it quits.

So after all of this time following the stories of the sandpit you must be curious what it actually took to finally build this finished beauty.

Here goes;
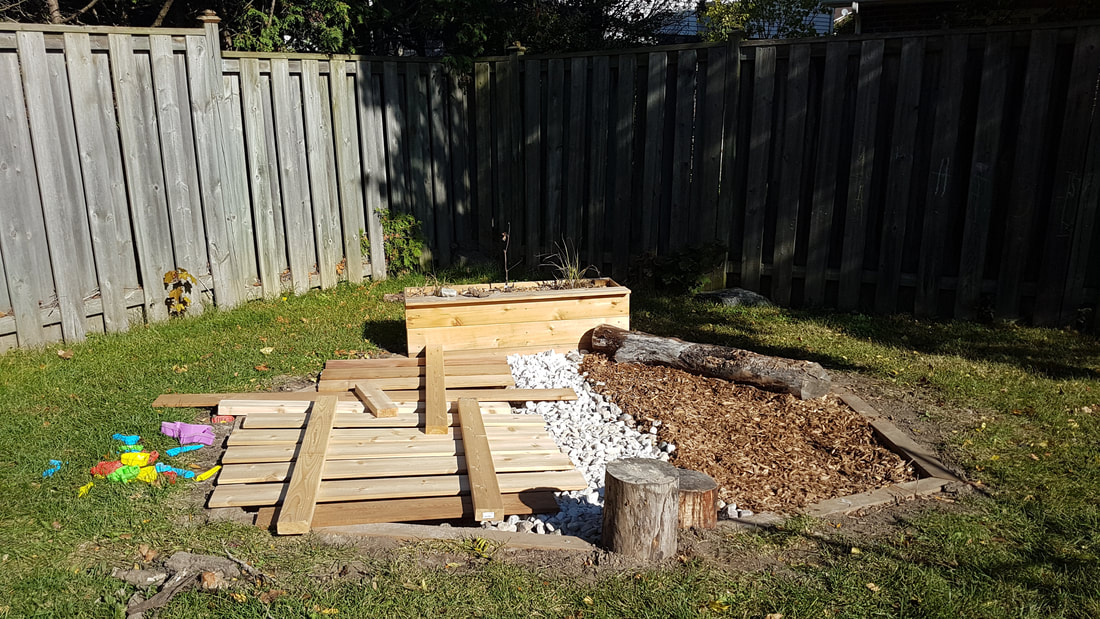
  • 10 pieces of 1x6"x8' knotty cedar fence boards
  • 3 pieces of 2x4"x8' cedar boards
  • 6 pieces of 4x4"x8' cedar posts
  • 2 x 10" metal spikes
  • 4 x metal brackets (to connect the 4x4s together on the ground)
  • 1 box of deck screws (I think they were 8x1 and 5/8")
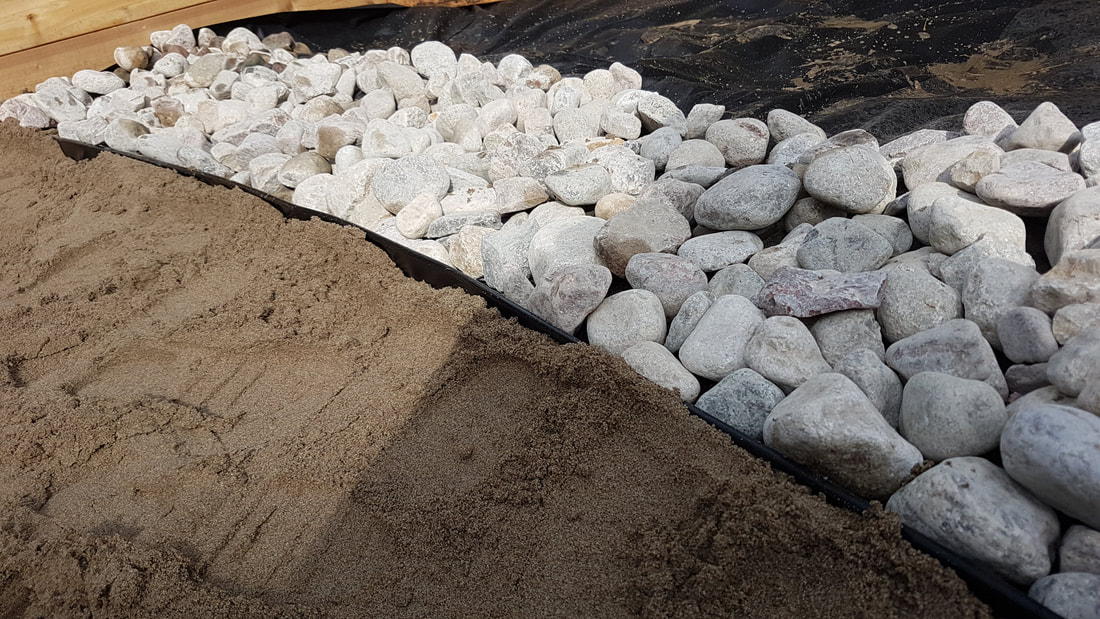
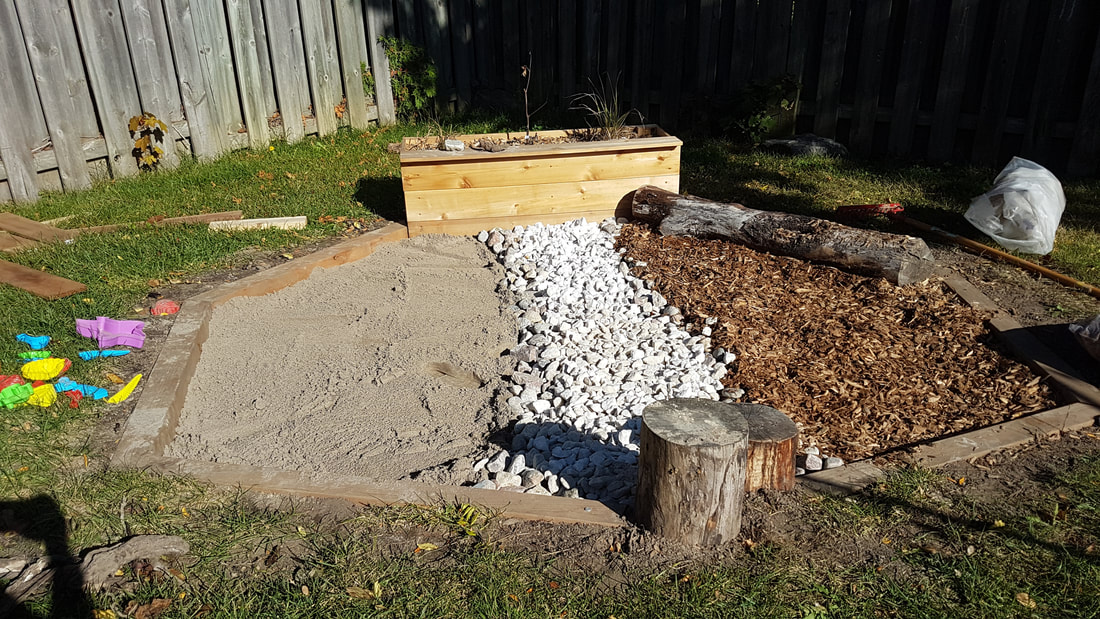
  • 10 bags of brick sand (WAY cheaper than play sand and not as dusty/airborne)
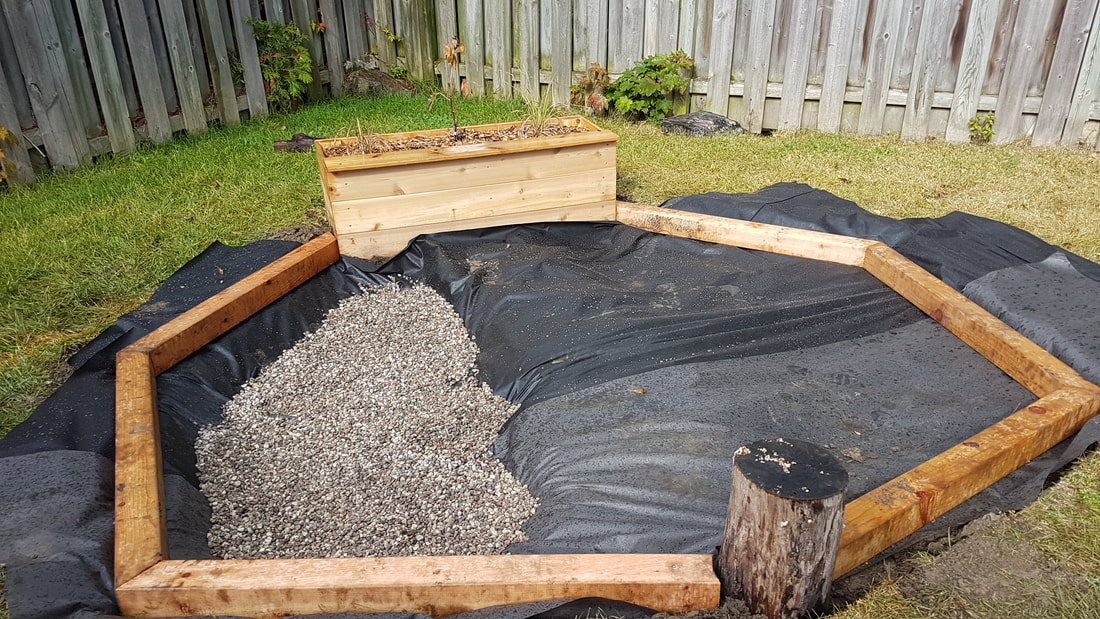
  • 2 bags of pea gravel
  • 3 bags of river rock (1.5"-2" size)
  • 3 bags of white decorative rocks
  • 6 bags of cedar 'playground' mulch (it is a bit thicker and not as shredded as gardening mulch, meant to take a fall/ impact better for kids)
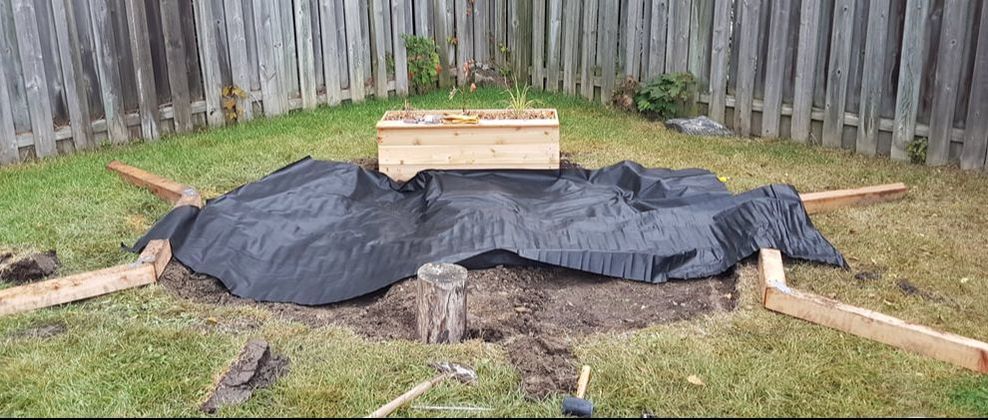
  •  25' of landscaping tarp (give or take, we started with a 20' strip but needed to buy more)

Total cost? I honestly can't remember because I lost all of the receipts! (I gathered supplies from 3 different stores because I'd buy what they had, then move to the next one). I know the materials to fill the pit with the sand, gravel, mulch, and stones in total cost about $200 CDN. Spikes and landscaping tarp I have no clue (thanks grandpa!). The wood was a few hundred dollars worth and I did get the store to cut them all in half (so essentially all of the wood I used was already cut into 4' lengths). I guess close to $800 CND? (plus cost to have that stump removed).

The first question I'll answer is why use cedar? Well I wanted something that was a natural bug and pest deterrent, plus I am still cautious on how safe the new 'safe' pressure treated woods are especially since the kids will be playing in this pit a lot. 

The second question I'll answer is why did you use 4x4 fence posts to edge the pit? Well, because cedar railway ties and landscaping ties aren't really readily available in our area (special order apparently) and I didn't want to wait anymore, plus the squared edges really frame it nicely.

The third and final question I'll answer is why did you make it cost so much? Why not dump some stuff just in it and be done with it? Well I do like eye pleasing landscaping and I wanted an edge to actual try to contain the stuff I was dumping into the pit. Besides, now I can pull my muskoka chair over to the sand and close my eyes next summer and pretend I'm on a beach!

​So now you must be asking, how did we build it?

Picture
Picture
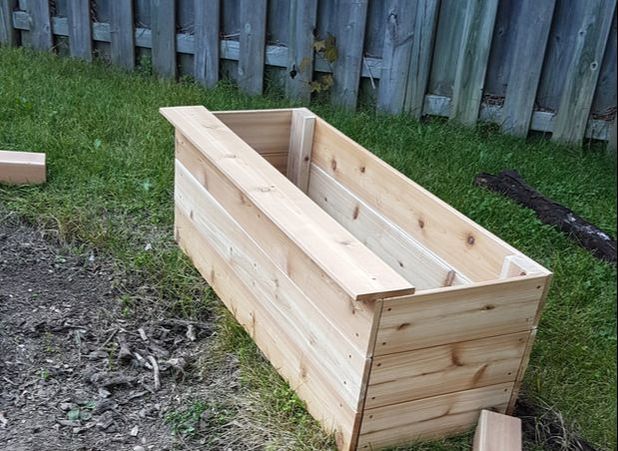
Let's start with the flower box that I built myself; 
  1. this took 1 of the 2x4s and 5 fence boards, a strip of landscaping tarp (probably where we fell short for the actual pit and needed to run to the store again) 
  2. it is built as a simple box three fence boards high (measuring the 2x4 to their height and cutting them to attach along each end and in the centre of the boards for stability)
  3. cut the depth of the box however you like, we used 2' (so the garden box itself is 18" high, 2' deep and 4' wide). 
  4. I made sure the ground I was placing it on was dug down a few inches so once filled (with dirt from the pit as we needed to empty it a bit more hahaha) it wouldn't move
  5. Plants added, some mulch and then I made a 'shelf' with one of the remaining 4' lengths of fence boards (the shelf was TOTALLY necessary as it is now the 'kitchen')
The next thing I did was call grandpa for help. I needed his experience (and his saw). Then we set about spacing and angling the fence posts around the pit (because I didn't really want to cut them again and was okay with it being asymmetrical).
  1. cut the grass/dirt out of the pit to align with where we wanted the posts to be (as we buried ours in the ground to be flush with the grass to make it easier to cut grass later on around the whole thing....the less weed whacking the better!)
  2. mitre cut the ends of the fence posts so that they sit flush with each join (against the garden box, against each other, and against our added stump table)
  3. joined the fence posts together with the metal brackets 
  4. ensured the pit was dug deep enough to fill (about 10-12", with the edges where the fence posts will lie only about 4" deep) and lined the pit with landscaping tarp (overlapping the outside edge of grass as you want it to lie underneath the fence post edging)
  5. Flipped the fence post edging over top of the landscaping tarp and decided where we wanted to place our fill (we added pea gravel first, then the sand)
  6. Between the different materials you can place a plastic or temporary edging to keep them from spilling over into each other (we did) but to be honest by the time the kids attack the pit it'll start to get mixed together quite quickly anyway haha
  7. Once we had everything in place and stomped it down a bit, we drilled holes in one end of each side of the fence post edging and then hammered the spikes into the ground/fill to help keep the frame in place 
  8. I then built a rudimentary cover for the sand out of the remaining fence boards and 2x4s (it could use some work, but it does the trick until I feel like doing a better job next year)
Picture
Picture
Picture
Picture
Picture
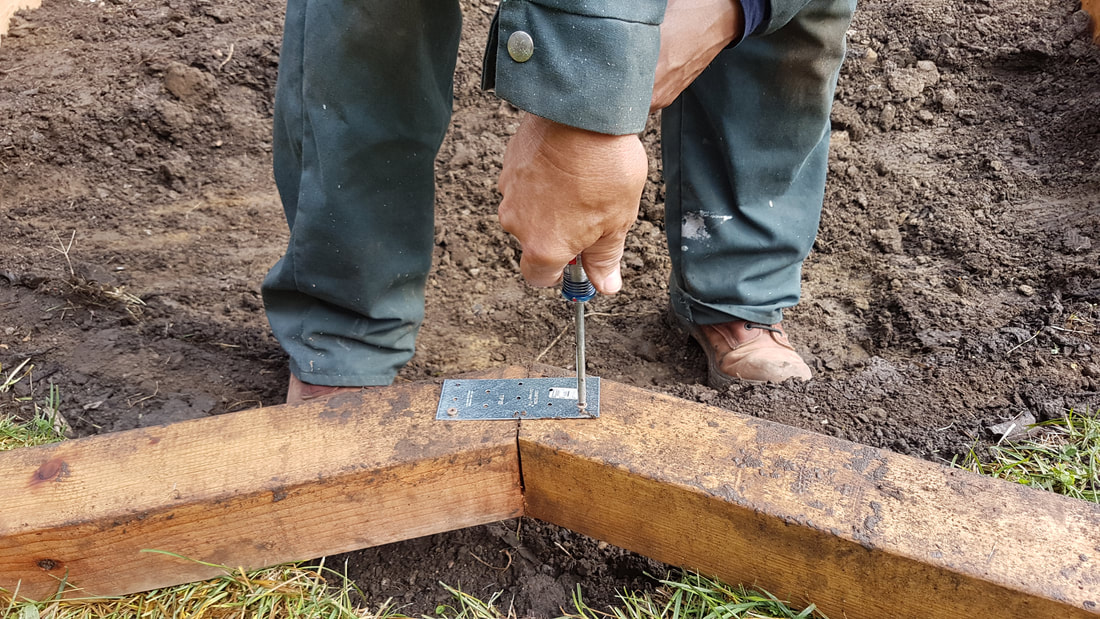
Would I do anything differently?  A pirate ship would still be pretty cool (see Sandpit part 3), but only time will tell as it hasn't been through it's first winter yet! I do know one thing though I would definitely have had that stump and root system removed professionally right away from the get go.....sooooo much wasted back breaking time! 

If you want to read the rest of this series;
Sandpit part 1
Sandpit part 2
Sandpit part 3
Sandpit part 4
Sandpit part 5
0 Comments


Leave a Reply.

    Author

    My husband, daughter and I are trying to get outside every day, rain, shine, or snow. Join us on our adventures as we explore the great big outdoors! 

    Archives

    August 2018
    June 2018
    April 2018
    January 2018
    November 2017
    October 2017
    September 2017
    August 2017
    July 2017
    June 2017
    March 2017
    January 2017
    October 2016
    August 2016
    July 2016
    June 2016
    May 2016

    Categories

    All
    Active Lifestlye
    Bucket Lists
    Farm Fresh
    Going Green
    Making Money
    Pokemon Go
    Reduce Screen Time
    Roadtrips
    Safety
    Sandpit
    Simplify Life
    Tree Top Adventures
    Unplug
    Untethering

    RSS Feed

Durham Region Playground Reviews

About
​Contact
​​FAQ
© COPYRIGHT 2015. ALL RIGHTS RESERVED.
  • Long Live Outdoor Play
    • FAQ
    • Favourite Links
    • About Me, Jennifer
    • About Valerie
  • Our Reviews
    • Playground Reviews >
      • Top 10 Infant & Toddler Friendly Playgrounds
      • Top 10 Accessible Playgrounds
      • Top 10 Parks with Shade
      • Canada's 150 coolest playgrounds
    • Splash Pad Reviews >
      • Top 10 Splash Pads
    • Skateparks
    • Indoor Play Reviews
    • Ontario Ice Cream Shops
  • Maps
    • Splash Pad Map
    • Desktop Playground Map
    • Indoor Playground Map
    • Ice Cream Trail Map
  • Our Adventures
    • Activities and Bucket Lists
    • Ice Cream